Overview
In this project I investigate how changing camera distance and focal length affects apparent geometry. I replicate three scenarios: (1) a close‑up selfie versus a stepped‑back, zoomed portrait; (2) architectural perspective compression along a street; (3) a classic dolly zoom (aka the Vertigo shot) created from a sequence of stills. Each study keeps subject scale roughly constant while changing the viewing geometry.
Part 1 — Selfie: The Wrong Way vs. The Right Way
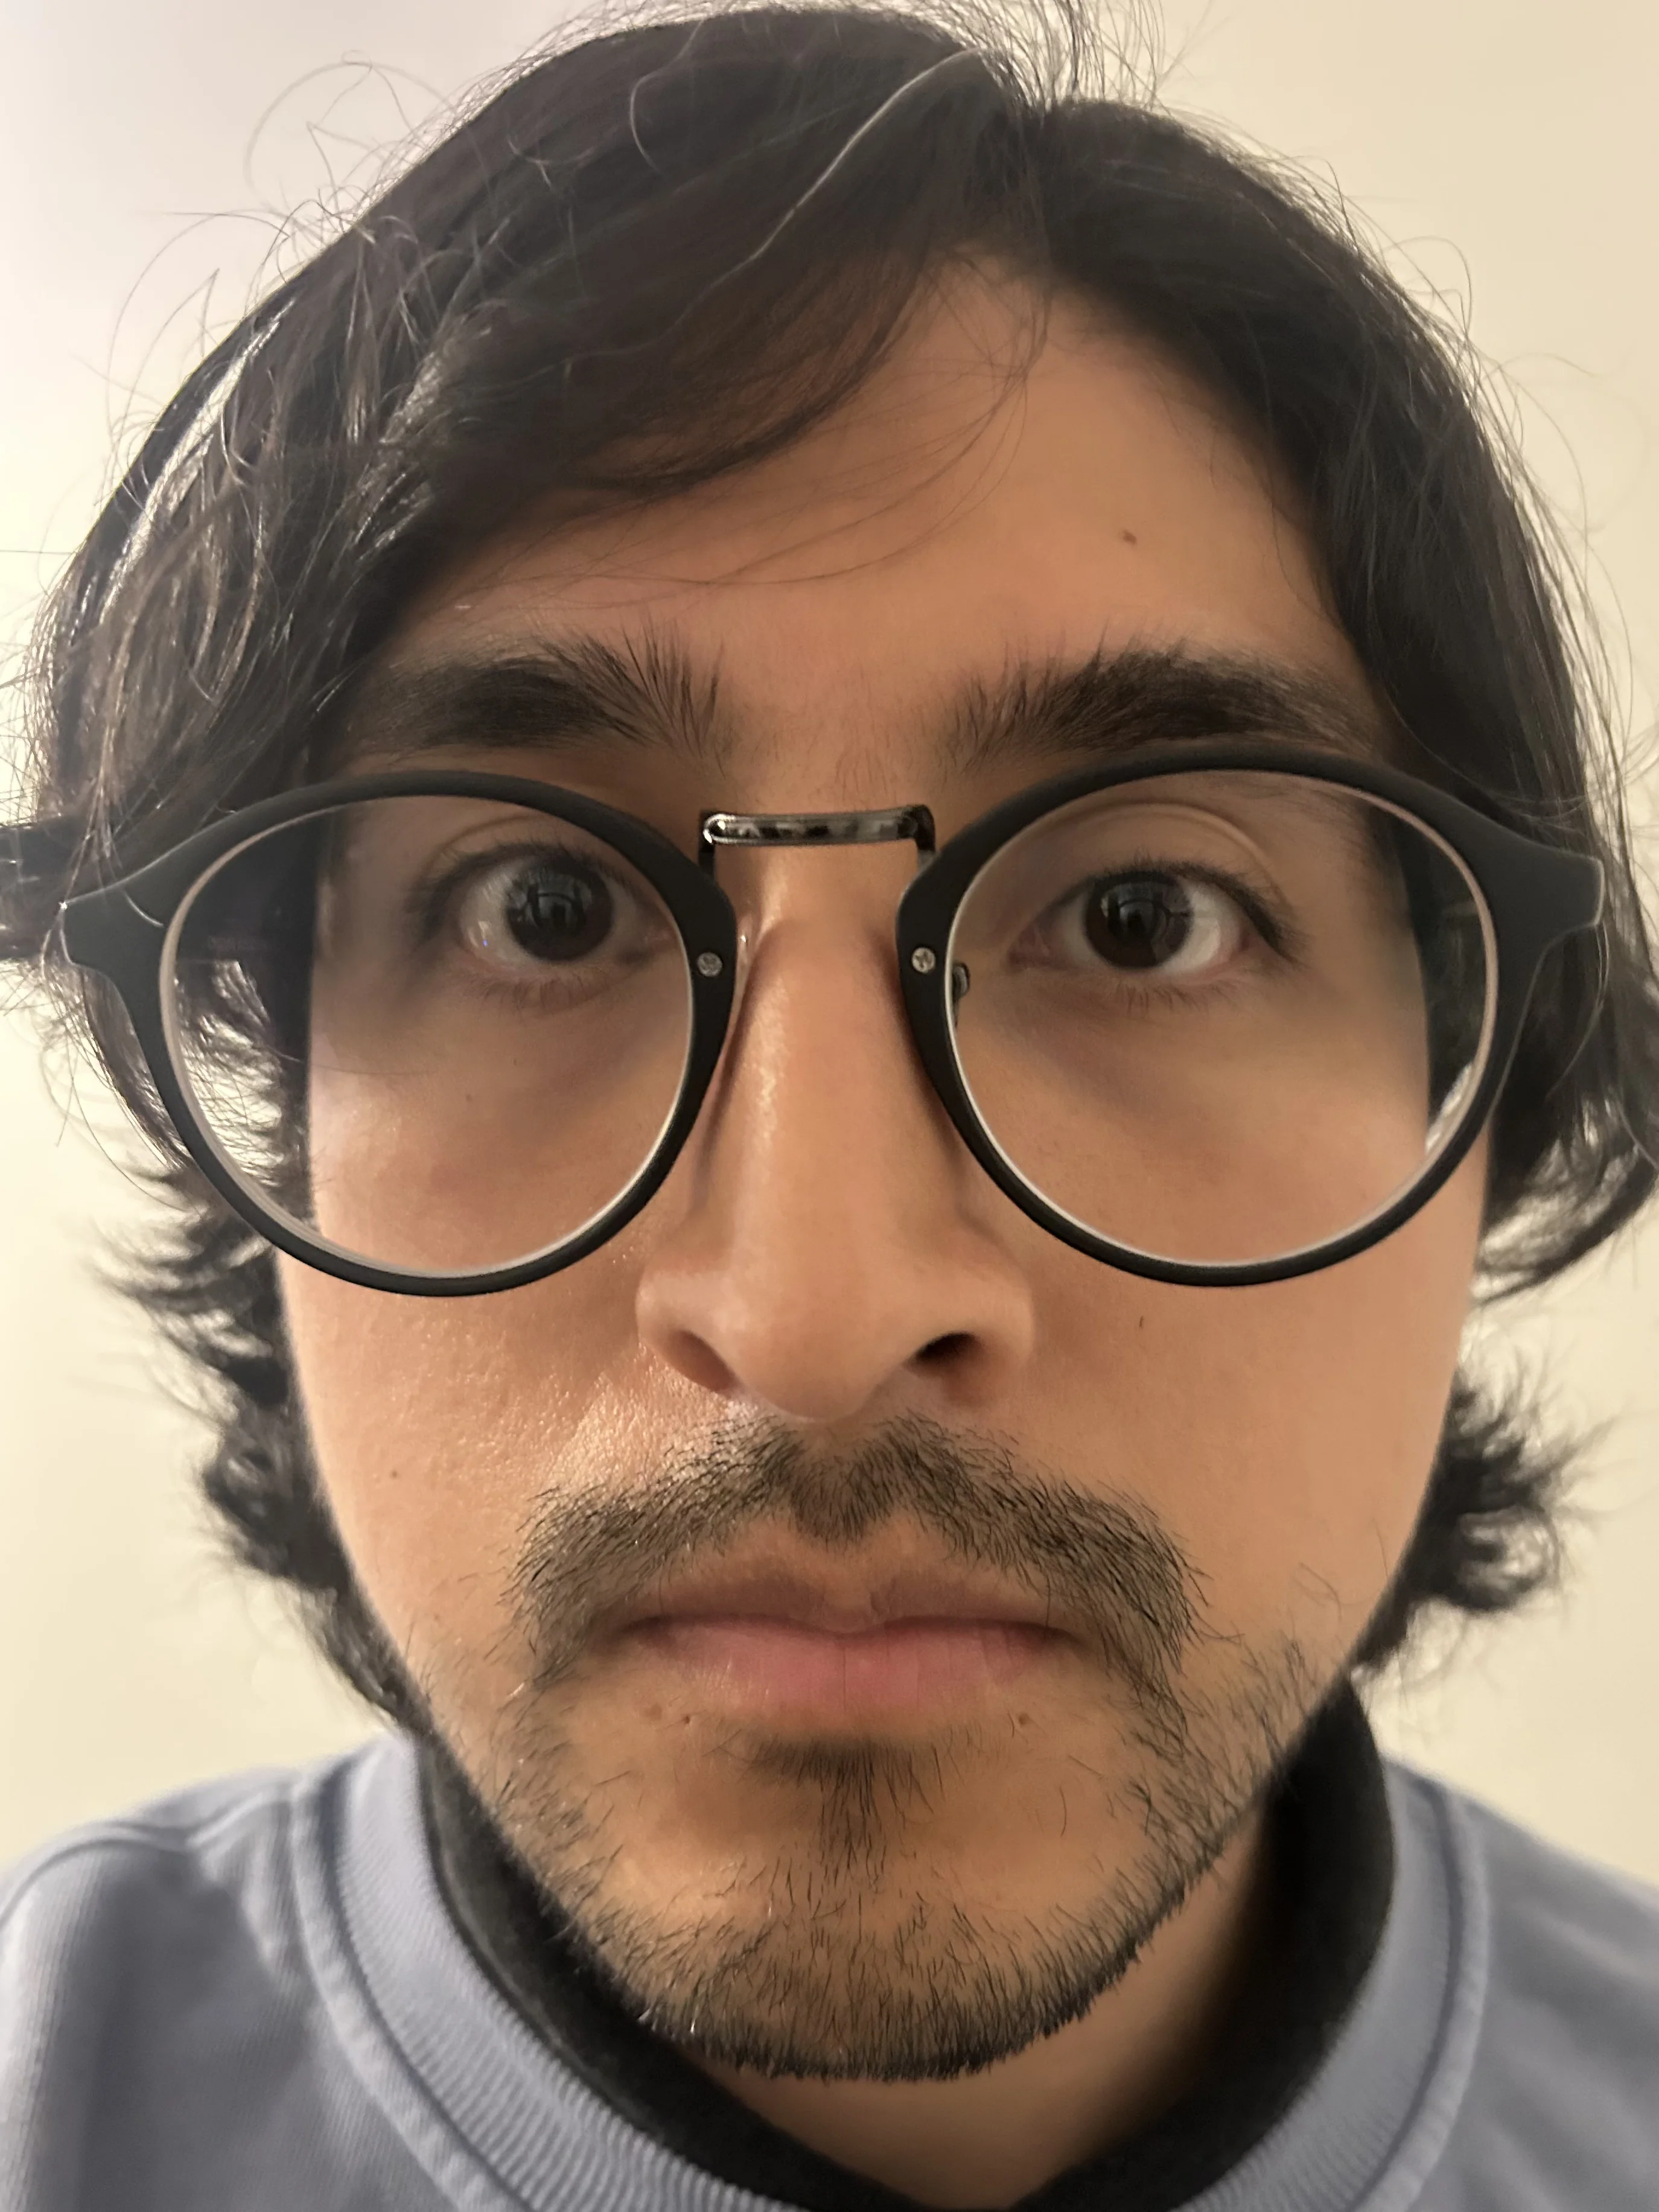
Close & Wide ("Wrong Way")
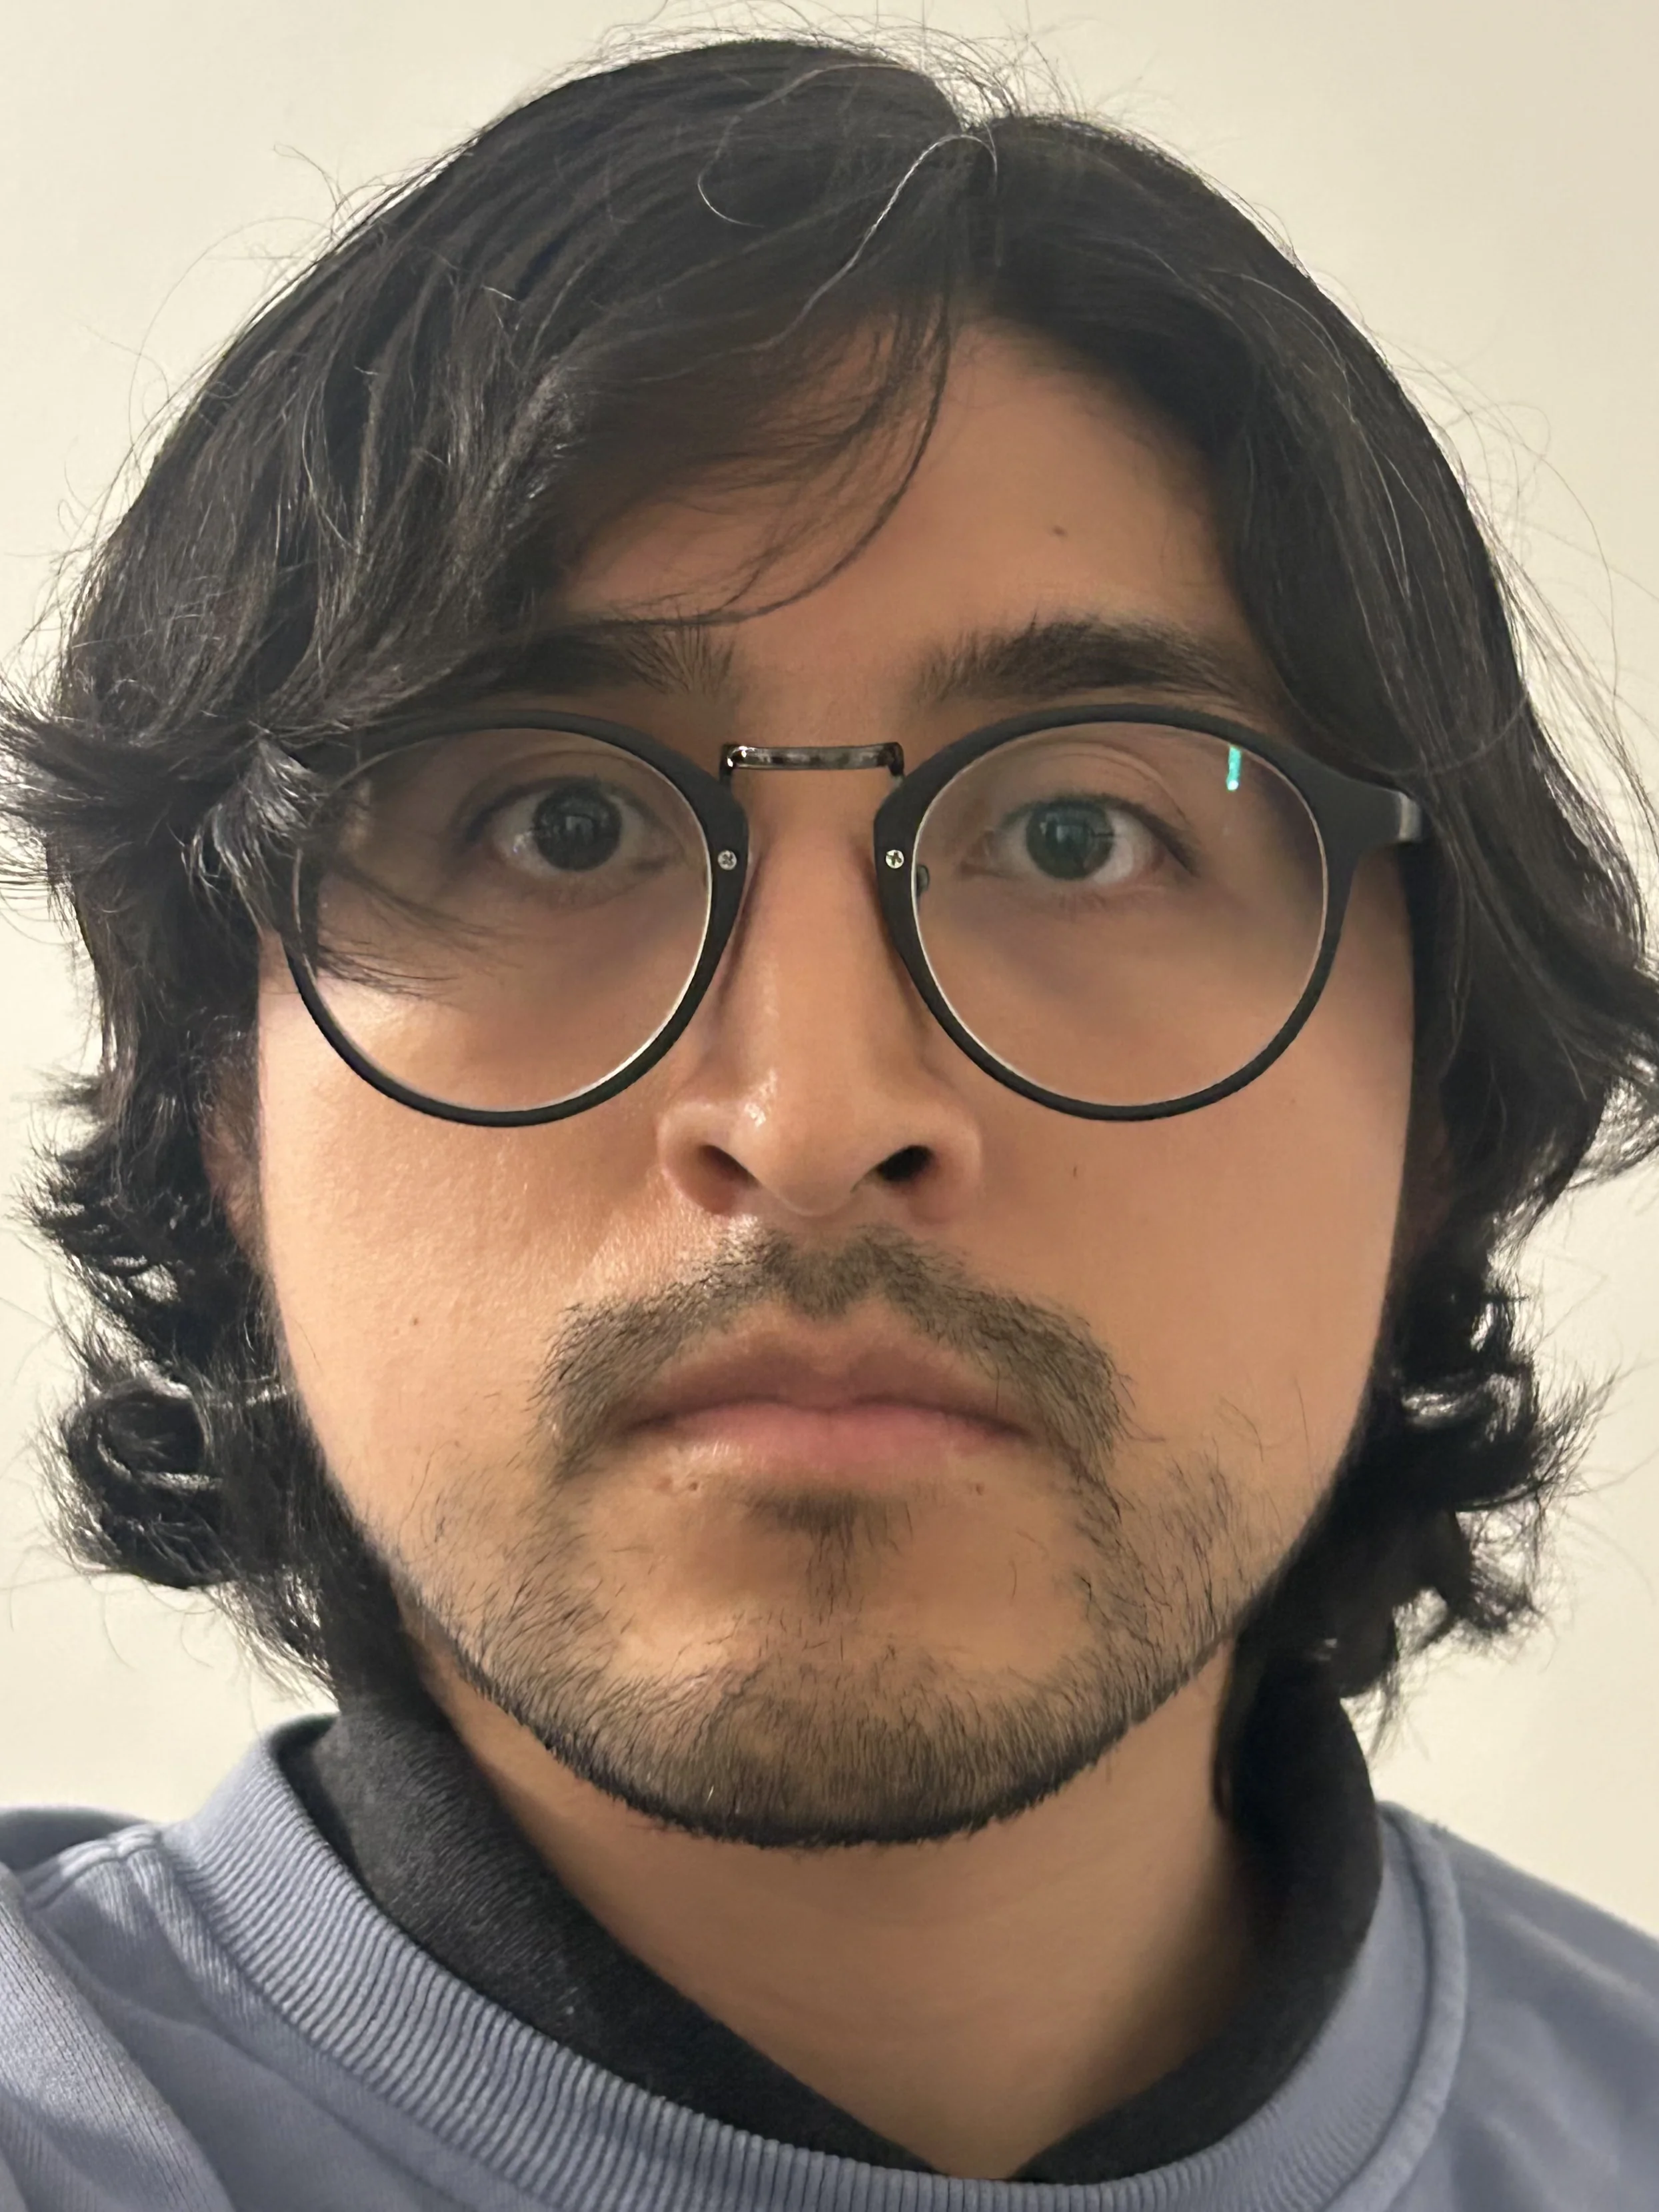
Back Up & Zoom ("Right Way")
Interactive Comparison
Reflection
Observation: When I increased the camera distance and used a longer focal length to keep the head the same size, the relative size of near vs. far facial features changed. The projection rays strike the face at narrower angles, reducing perspective exaggeration.
Why: Perspective is governed by camera position (center of projection), not by focal length alone. Changing focal length while holding position just crops/zooms the same projection. Stepping back actually changes the ray geometry through the scene.
Part 2 — Architectural Perspective Compression
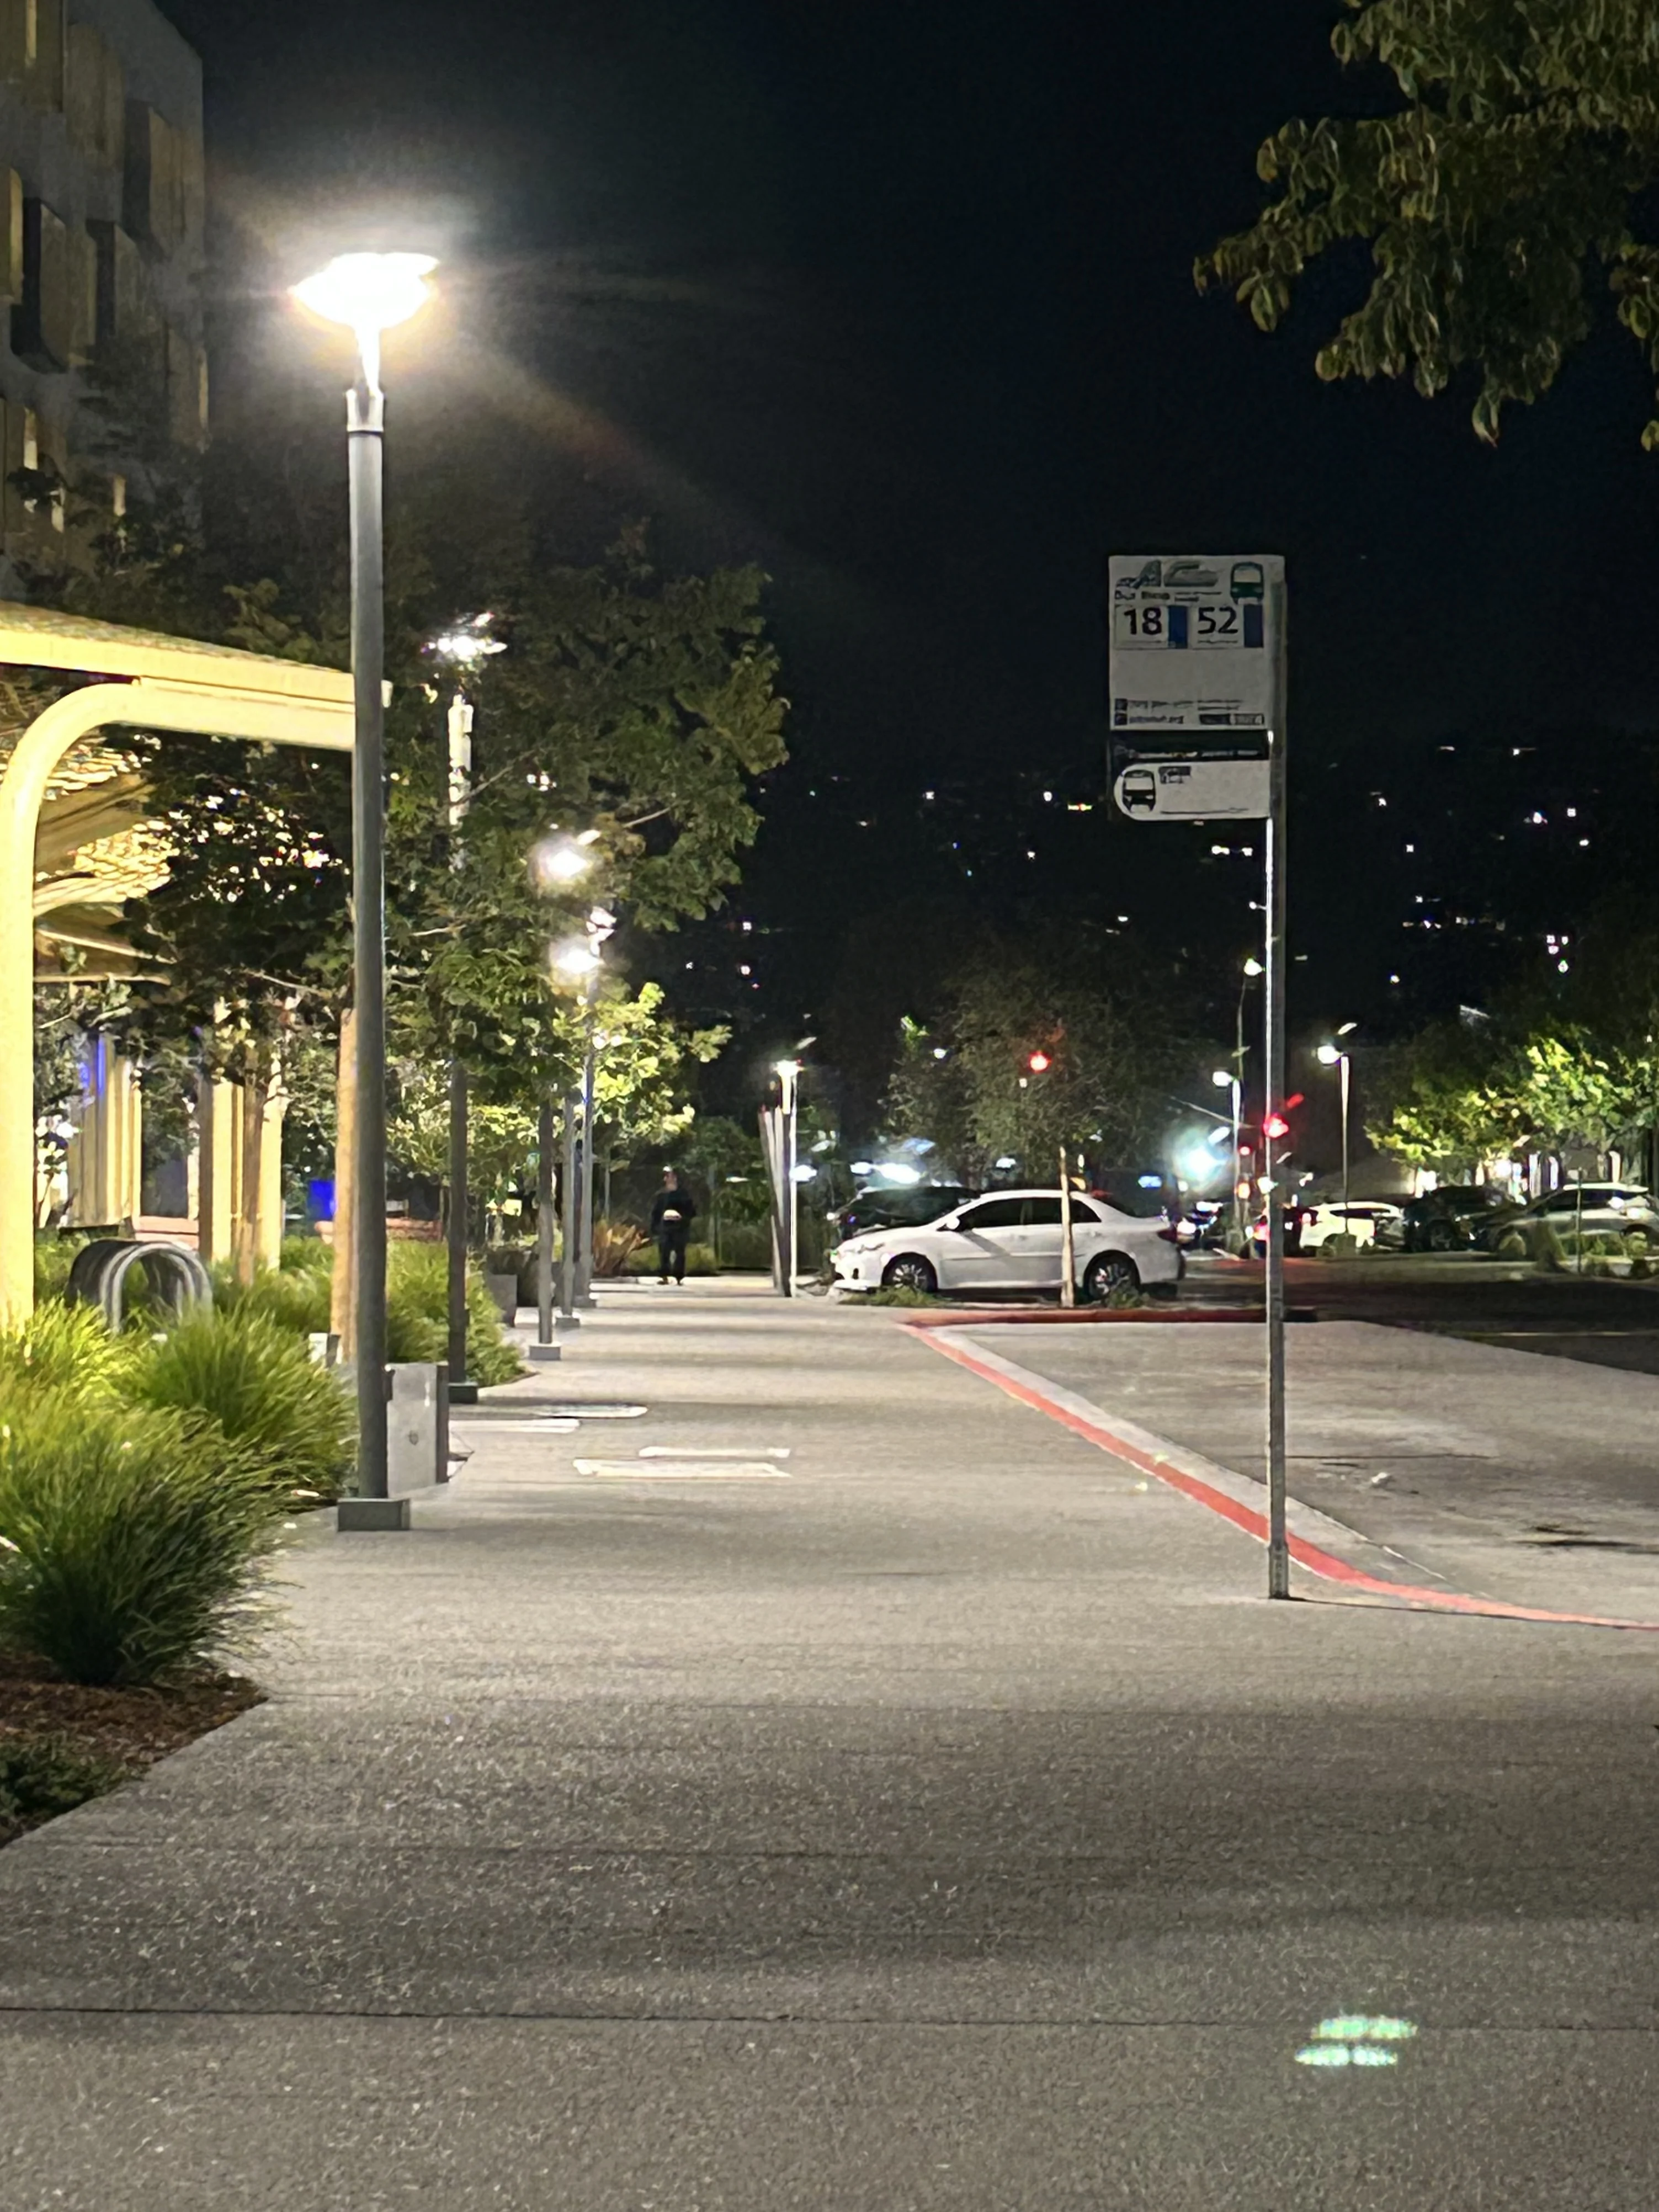
Zoomed‑in From Afar
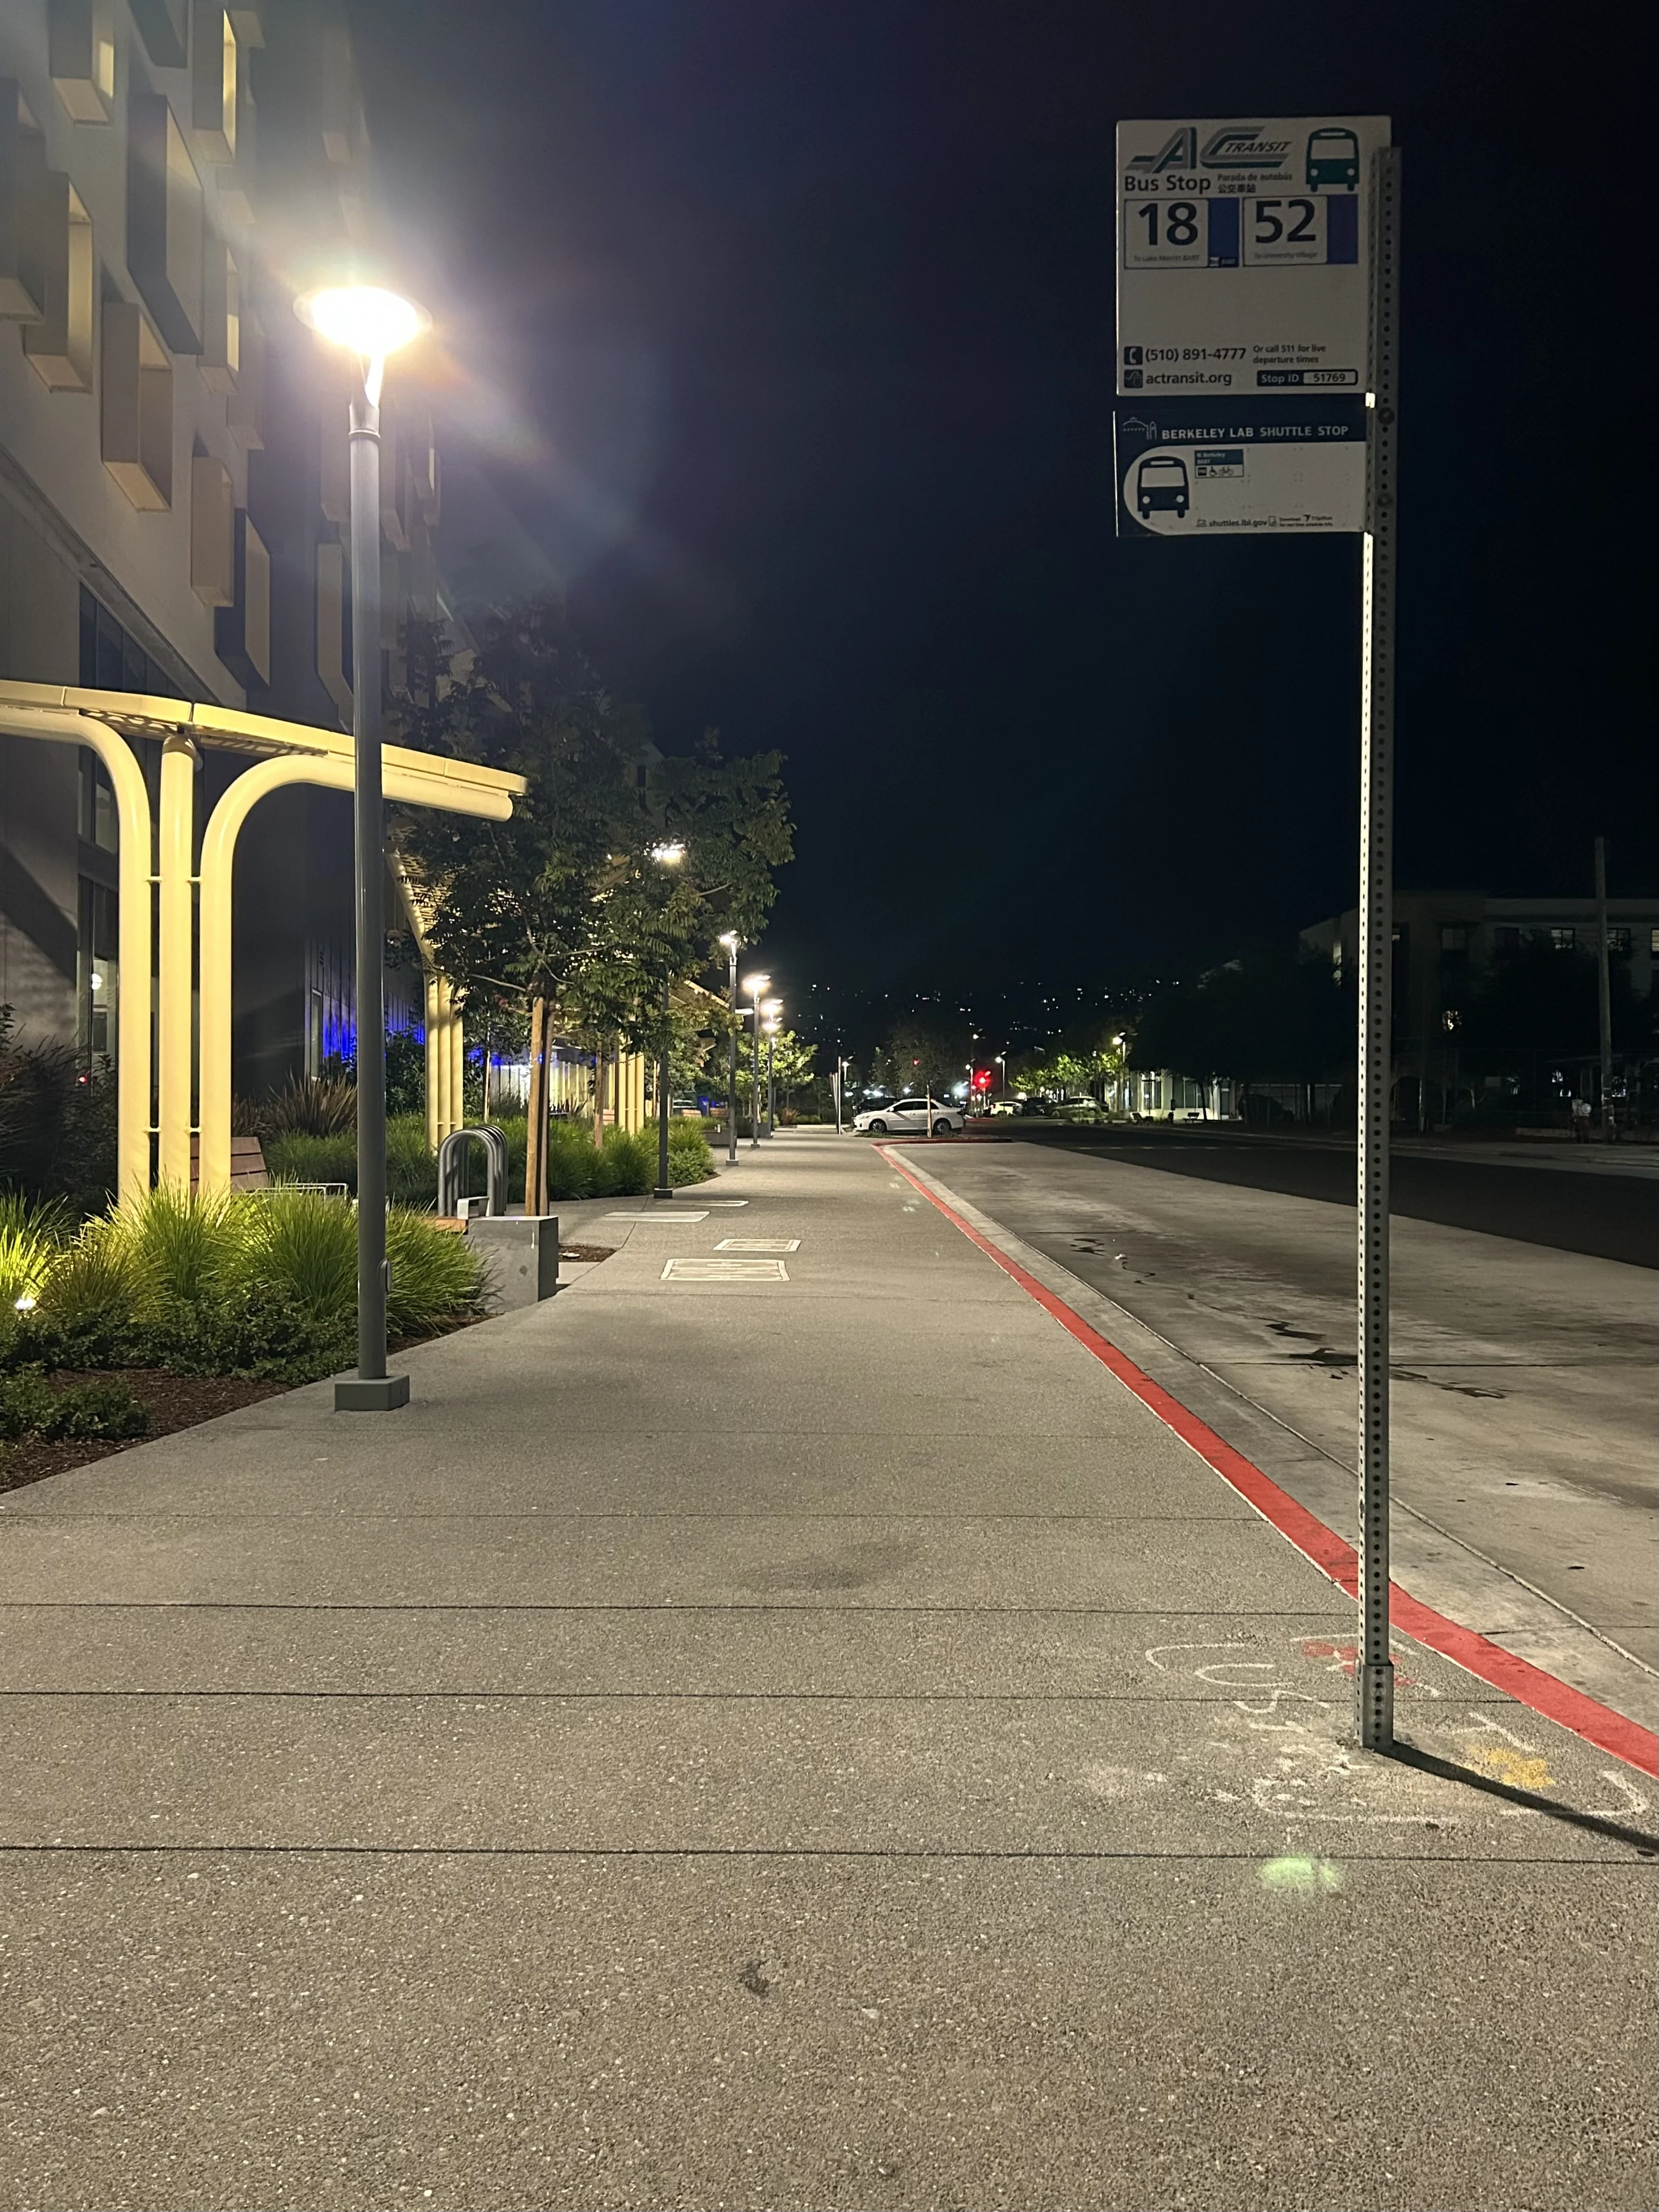
Walk Forward, No Zoom
Interactive Comparison
Reflection
Observation: In the telephoto shot, buildings and street features appear flattened; in the near wide shot, depth is emphasized.
Why: Again, the decisive change is camera distance. Telephoto doesn’t create compression by itself; it crops a projection from farther away, where rays to near and far objects are more parallel, reducing relative size change with depth.
Part 3 — The Dolly Zoom (Vertigo Shot)
Animation
Process Notes
I captured 7 frames while physically dollying the camera backward and increasing focal length to keep the subject size constant. I then combined frames into an animated GIF. Frame count, steadiness, and consistent exposure/focus help the effect read cleanly.
Appendix — Method & Export Settings
Capture: Smartphone camera, exposure locked; for Parts 1–2 I matched subject scale between shots. For Part 3 I kept the subject centered and used markers where possible.
Exports: Photos saved as .webp at ~1600–2000px on the long edge; GIF at 10 fps, resized to ≤ 1200px width for web. (Animated WebP or MP4 offers better quality/size but GIF is used here per assignment.)